

How To Adjust Desktop Icon Size In Windows 7
Windows 7 Enterprise Windows seven Home Basic Windows 7 Home Premium Windows 7 Professional person Windows vii Starter Windows 7 Ultimate Windows Vista Enterprise 64-fleck Edition Windows Vista Home Basic 64-bit Edition Windows Vista Home Premium 64-bit Edition Windows Vista Ultimate 64-fleck Edition Windows Vista Business Windows Vista Business organization 64-bit Edition Windows Vista Enterprise Windows Vista Abode Basic Windows Vista Abode Premium Windows Vista Starter Windows Vista Ultimate More...Less
 This is a footstep-by-stride article.
Summary
This commodity shows different methods so that whatever user can hands change the size of desktop icons and their spacing, as desired.

Resolution
To adjust the spacing betwixt icons, follow these steps:
-
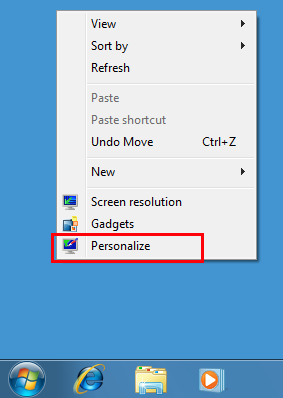
Right-click on any empty space on the desktop and selectPersonalize from the drop-downwards menu
-
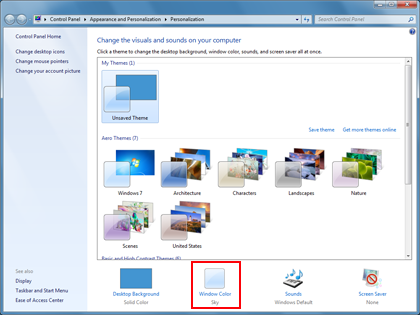
In thePersonalization window, click Window Color option.
-
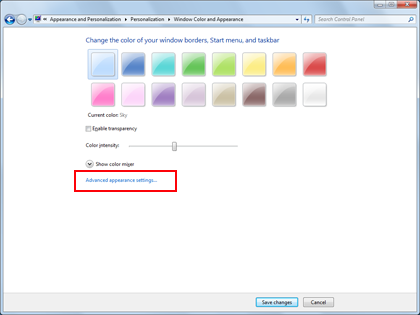
Then, click Advanced appearance settings ... in the post-obit dialog box.
Note:In some versions of Windows 7, it is probable that when you complete step 2, the Window Color and Appearance window volition appear immediately (in this case, skip to step 3).
Go back to Arrange icon size using avant-garde appearance settings
-
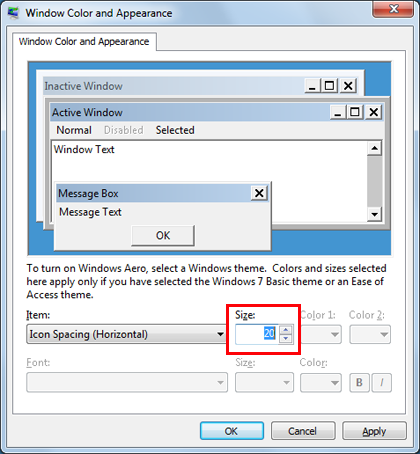
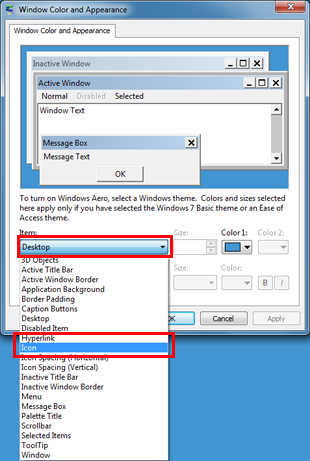
In the Window Color and Appearance window, select the Icon Spacing option from the Item drop-downwardly bill of fare.
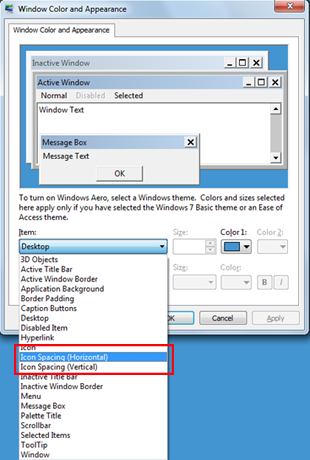
Note: The Icon Spacing (Horizontal) option determines the spacing of icons placed side by side, while the Icon Spacing (Vertical) selection determines the spacing of icons from top to lesser.
-
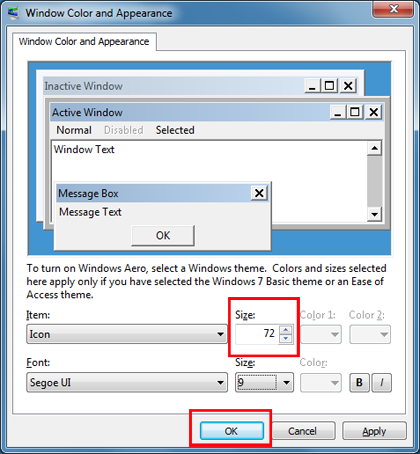
Select the new icon spacing size.
-
Click OK to return to the desktop.
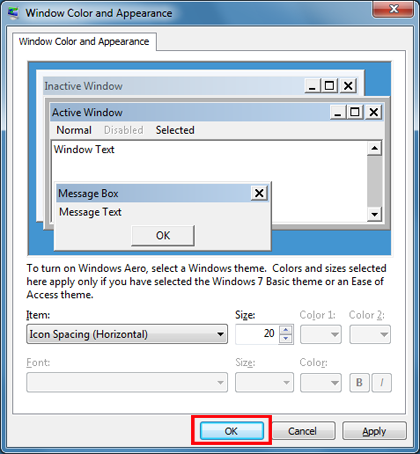
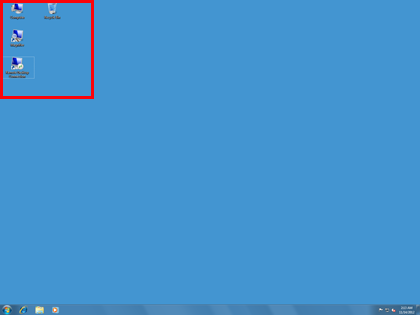
-
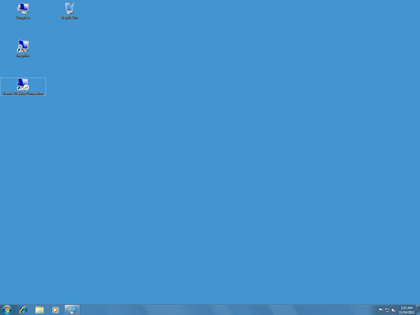
You lot tin at present see the changes made to the icons on the desktop.
Adjust icon size using the driblet-down menu on the desktop
-
Correct-click on any empty infinite on the desktop and select the View option from the drib-down menu.

-
Select the desired option:Large, medium or small icons. The default selection is Medium Icons.
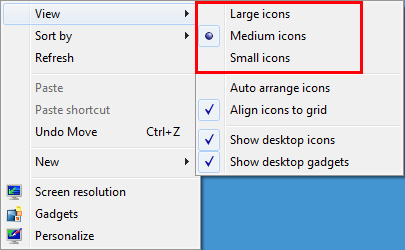
The desktop volition be adjusted co-ordinate to your choice.
Accommodate icon size by scrolling
-
Click on whatever empty space on the desktop. Then press and agree Ctrl on the keyboard. And then, roll up or downwardly until you lot get the required size.
Note: This method requires a mouse with central or side scroll wheel.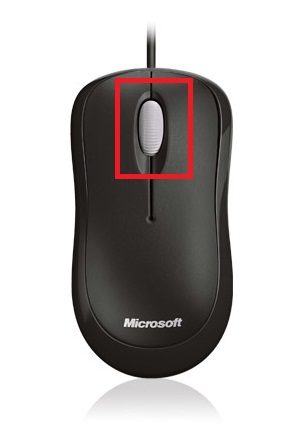
Adjust icon size using advanced advent settings
-
Follow steps 1 through 3 desscribed on Accommodate icon spacing.
-
In the Window Color and Appearance window, select the Icon option from the Detail driblet-down carte.
-
Select the desired size and then click OK to return to the desktop.
-
Yous now can run across the changes made to the icons on the desktop.
References
Note This is a "FAST PUBLISH" article created directly from within the Microsoft support system. The data independent herein is provided every bit-is in response to emerging issues. Every bit a result of the speed in making information technology available, the materials may include typographical errors and may be revised at any time without notice. Run across Terms of Use for other considerations.
Source: https://support.microsoft.com/en-us/topic/how-to-resize-icons-and-their-spacing-in-windows-7-c6ea9571-4519-0f33-f88a-a4ef402a0676
Posted by: delongagantiched57.blogspot.com
0 Response to "How To Adjust Desktop Icon Size In Windows 7"
Post a Comment